Build a strong, sturdy garden bench
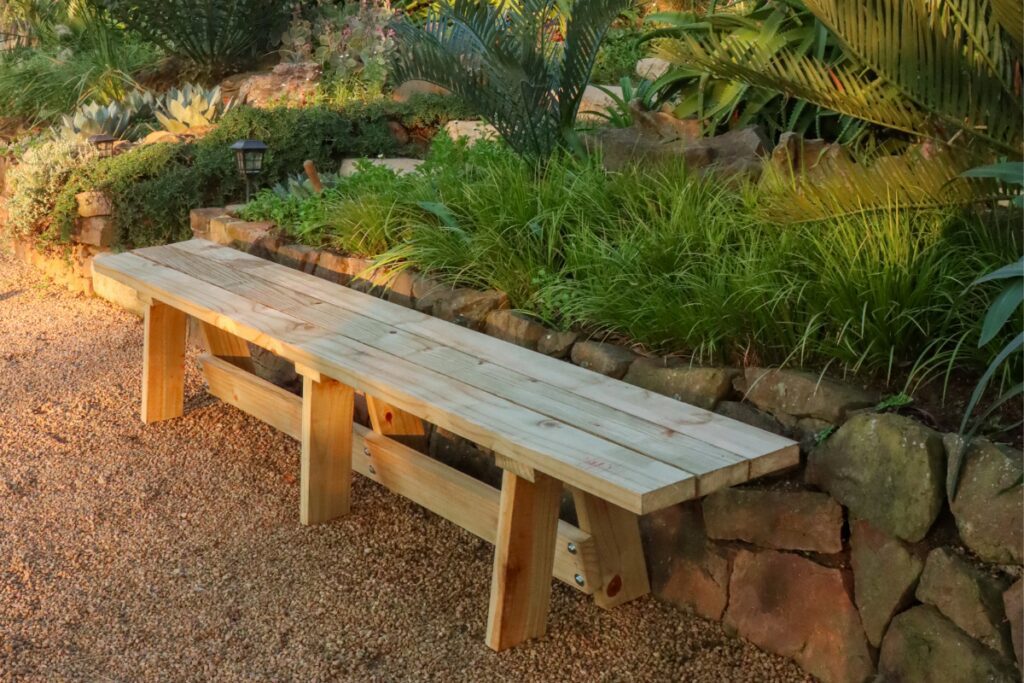
This garden bench has a great design and is built to last with treated pine.
What you need:
CCA-treated pine planks (38mm x 114mm) cut to:
- 3 x 2400 mm seat planks
- 1 x 1880 mm long brace
- 6 x 400 mm legs
- 3 x 320 mm cross braces
- Woodoc Water-Borne Plus-Life PRIMER
- Woodoc Water-Borne MARINE Exterior
- Wood Sealer Matt Clear
- 5 mm x 60 mm wood screws
- 8 mm x 60 mm coach screws and washers
- Wood glue
- Paintbrush
- Fine Sandpaper
- Flat stirring spatula
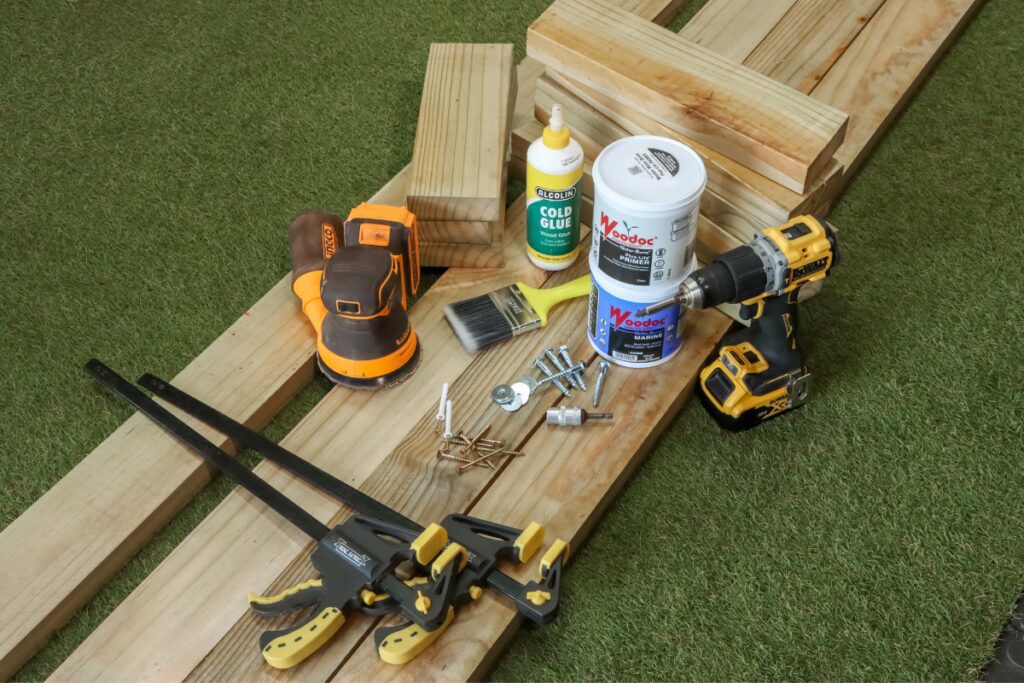
Tools
Orbital sander, mitre saw or circular saw, drill driver with 5 mm wood bit, clamps, 6 mm nail-in anchors (used as spacers between seat planks), 13 mm socket.
Steps
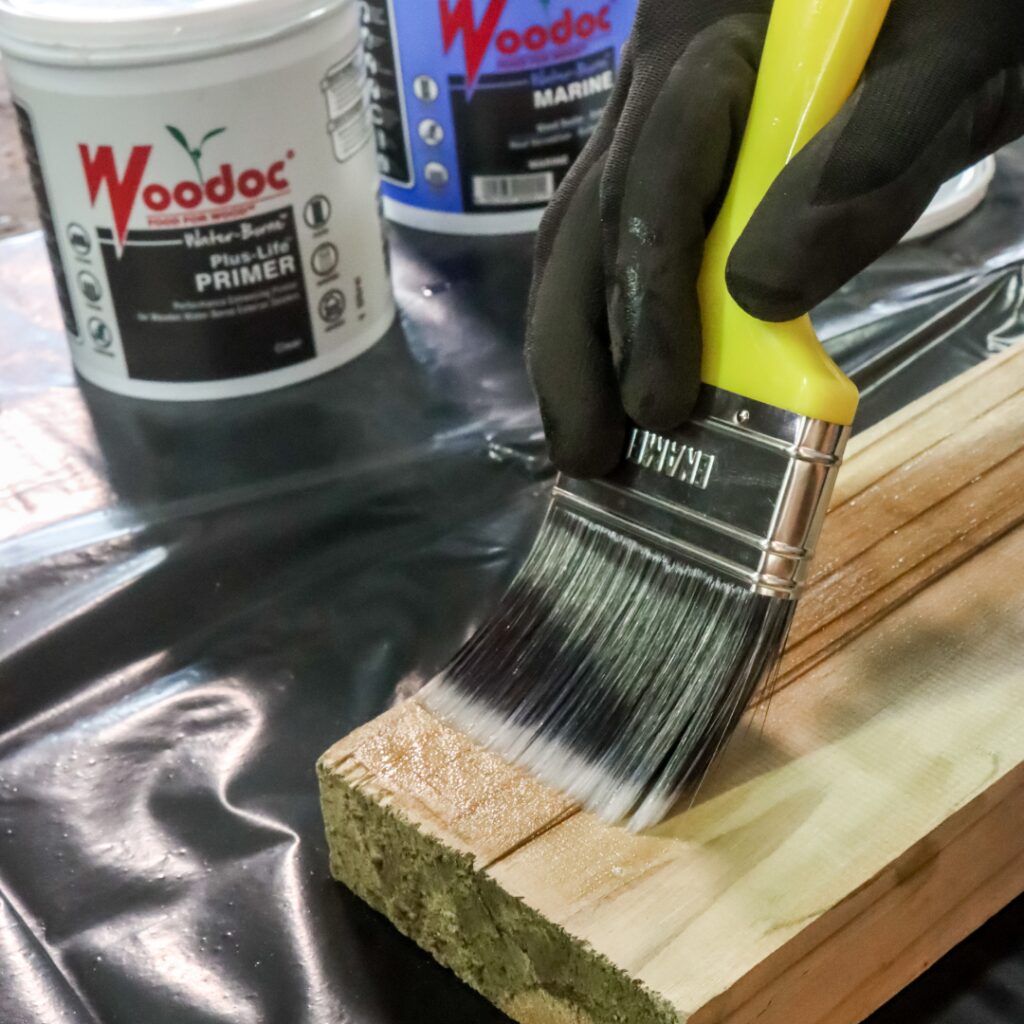
1. Sand all timber lengths to remove surface dirt and rough edges. Apply one coat of Woodoc Water-Borne Plus-Life PRIMER to all surfaces, paying particular attention to the end grains. Allow the primer to dry completely. Apply one coat of Woodoc Water-Borne MARINE to all surfaces. Allow to dry completely. Lightly sand all surfaces with fine sandpaper. Apply a second and third coat of Woodoc Water-Borne MARINE in the same way, allowing each coat to dry completely. Do not sand after the third coat.
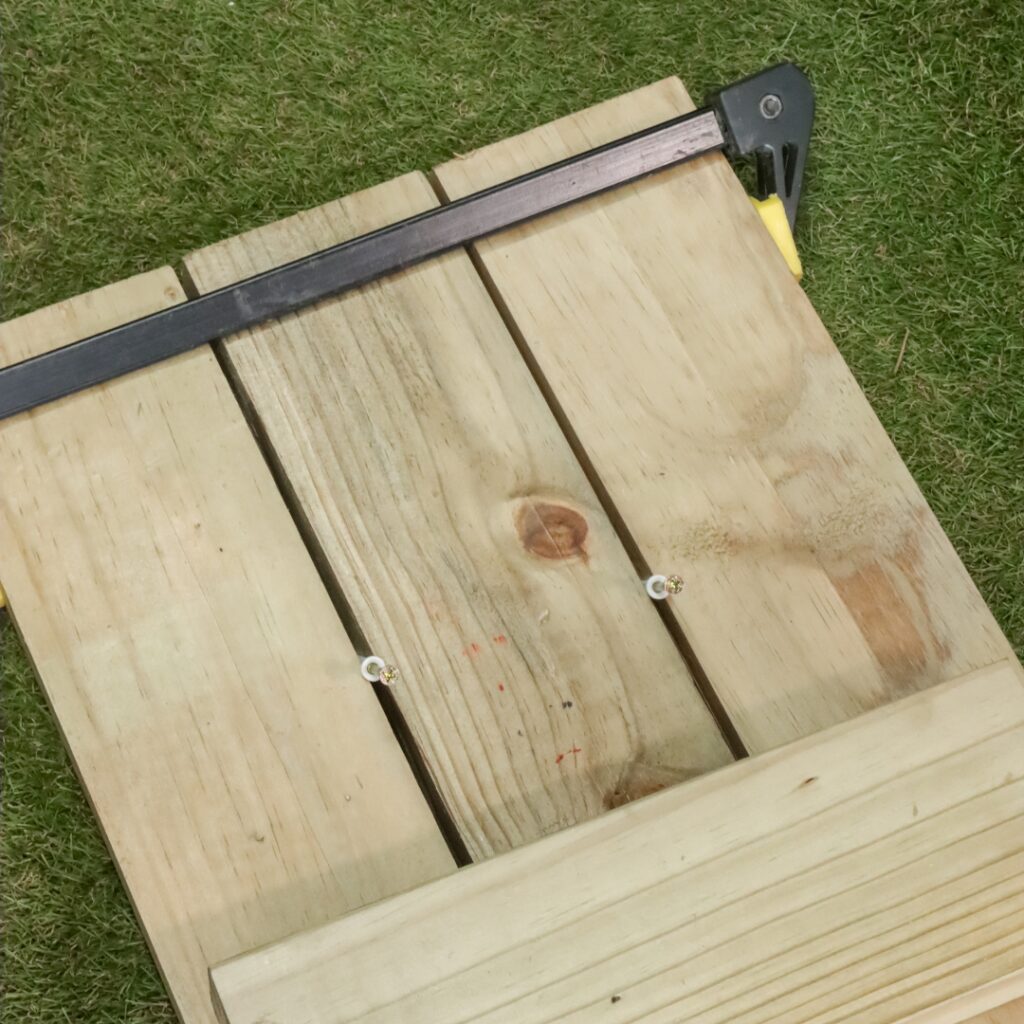
2. Place 3 of the 2400 mm lengths flat on the floor, upside down. Insert a 6 mm nail-in anchor between each length as a spacer to create a consistent gap between the planks. Clamp the three lengths together to hold them in position.
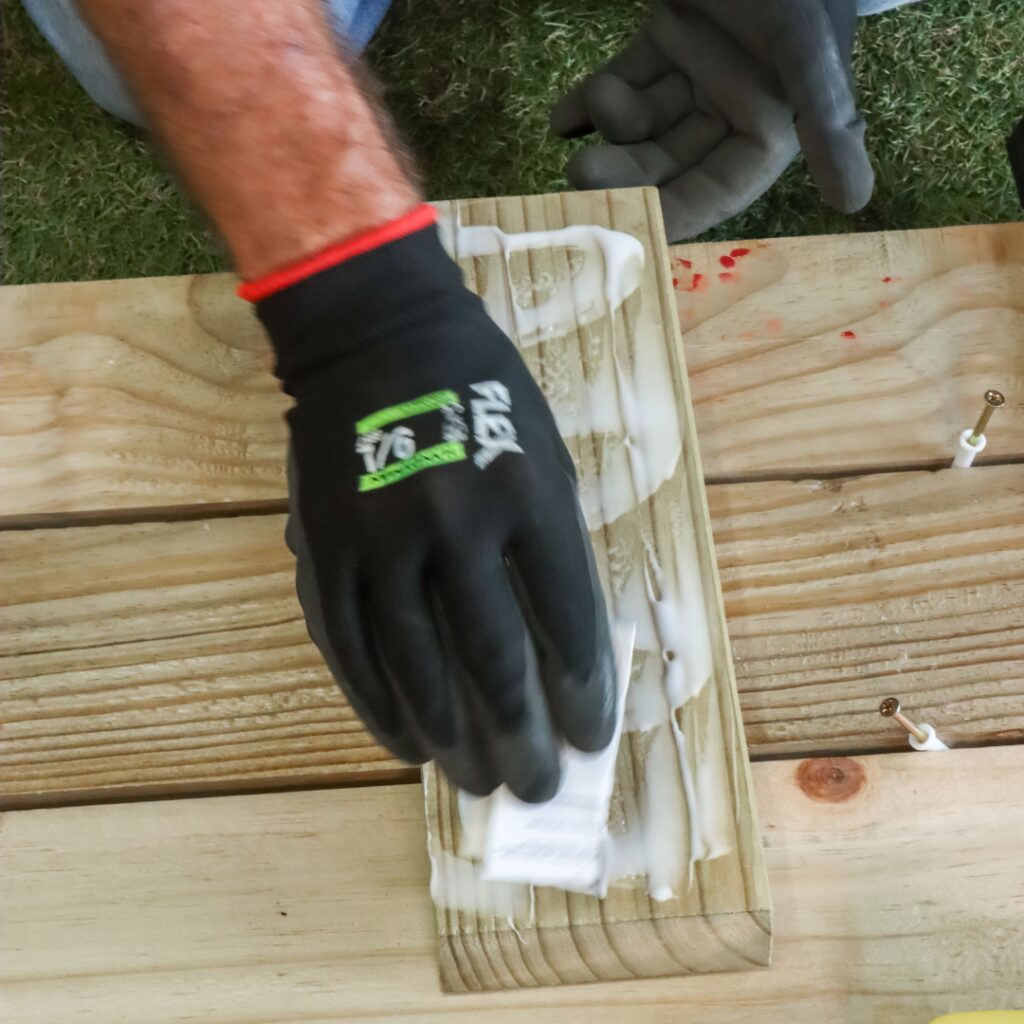
3. Position the 3 (320 mm) cross braces across the seat planks. Ensure the overhang on each outer edge is equal on both sides, 300 mm from the edge. Use wood glue and secure each cross brace using wood screws per plank (6 screws per brace).
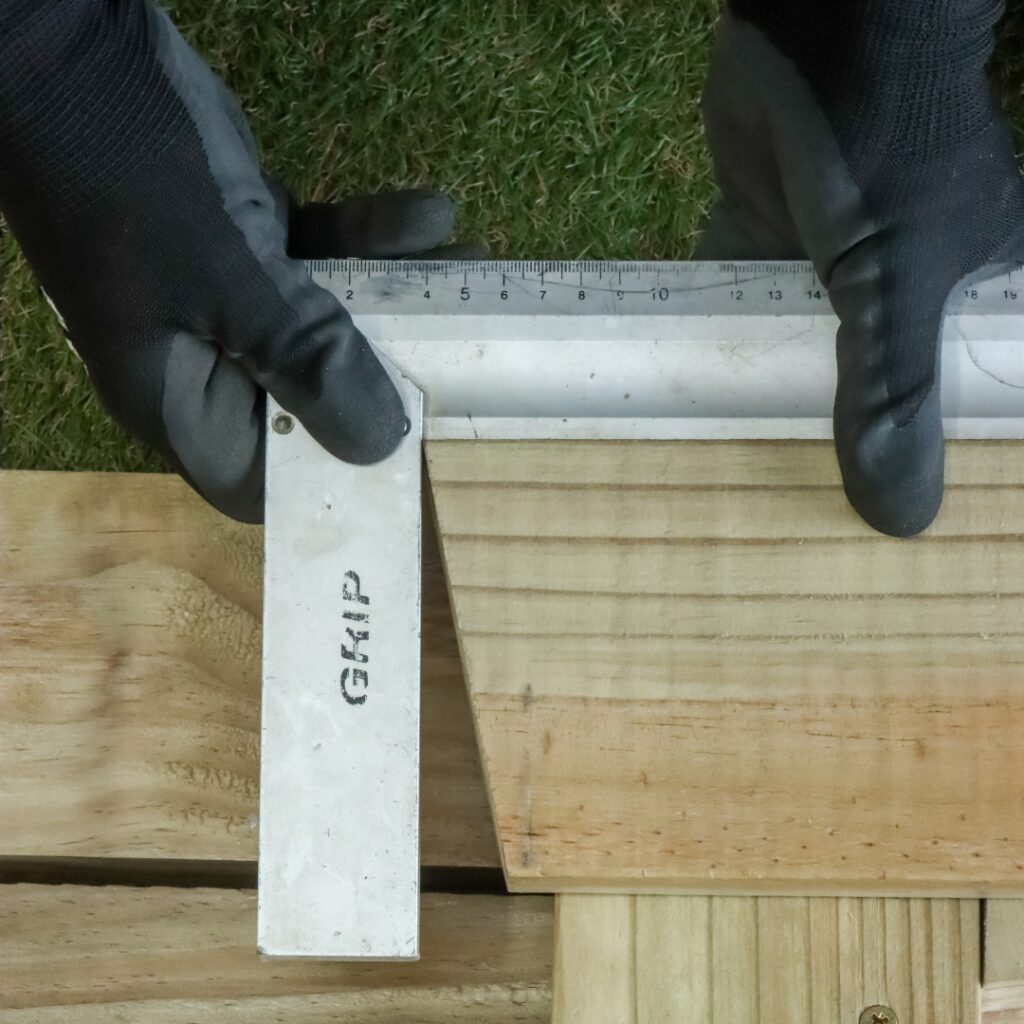
4. Using a saw, cut both ends of all 6 leg pieces (400 mm) at 10°.
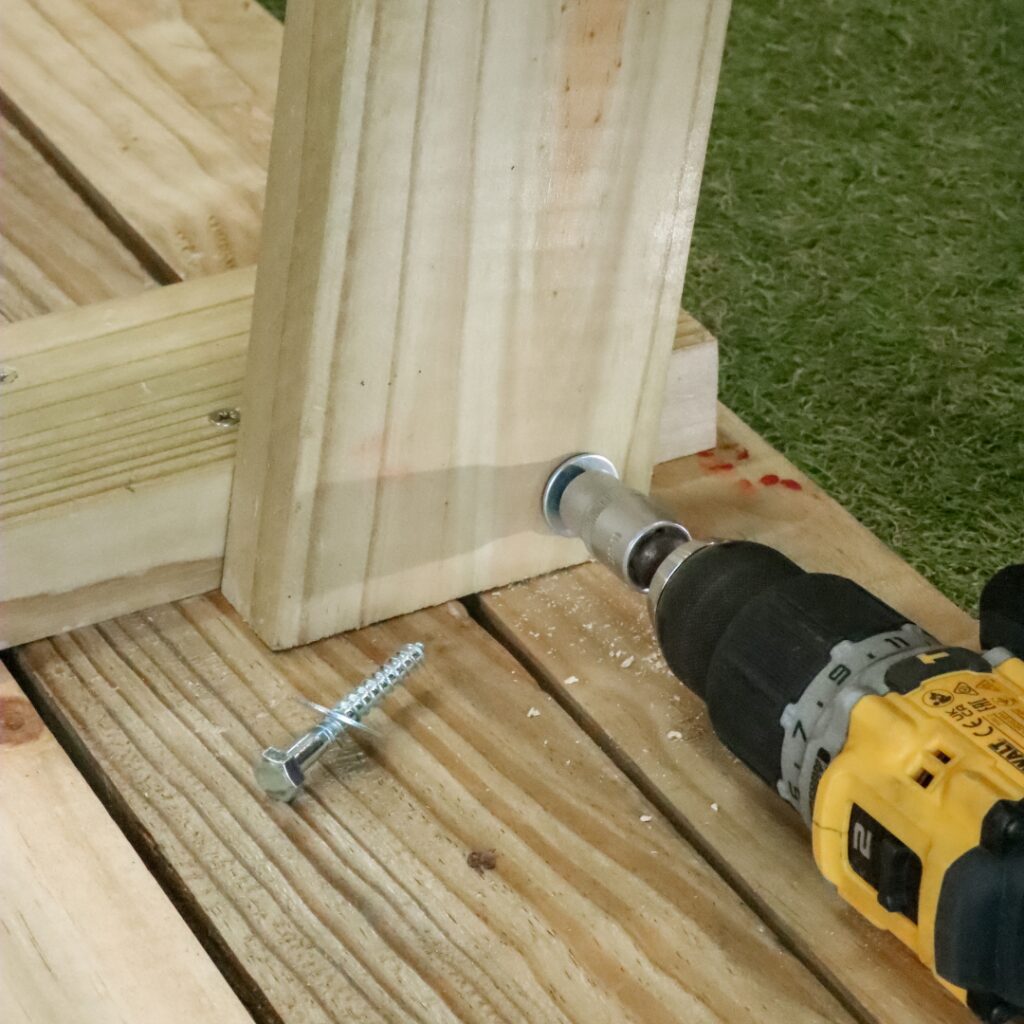
5. Position one leg against the outer face of a cross brace at one end of the bench. Ensure the angled cuts are oriented correctly, with the top angle flush to the seat underside and the bottom angle flat to the floor. Drill a pilot hole through the leg and into the cross brace. Fit a washer onto the coach screw, then drive the screw through the pilot hole to secure the leg using a 13 mm socket. Repeat for the remaining legs.
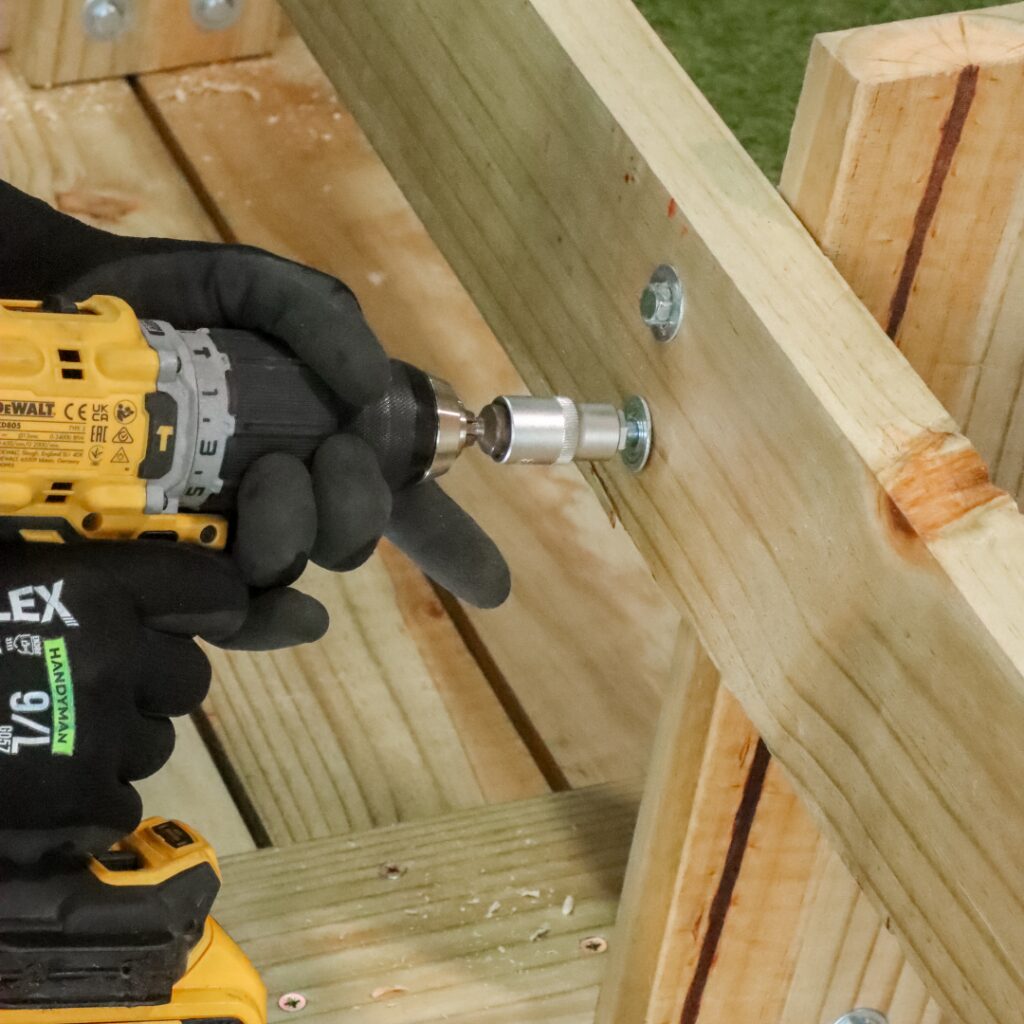
6. Take the 1880 mm length (the brace). Position it on the inside face of the first set of legs, leaving enough room for the second set of legs to be attached on the opposite side. Secure the brace to each leg using a pilot hole, washer, and 2 coach screws per leg.

7. Attach the remaining 3 legs to the opposite side of the cross braces using the same method: pilot hole, washer and coach screw. Ensure the angled cuts are oriented correctly on each leg.
8. Once all legs and the brace are secured, carefully flip the bench upright onto its feet (see main image).

Looking for something?
Follow Us