Tandoori time
Making your own tandoori oven is simple and rewarding. These ovens work on a basic principle, they are clay-built, well insulated, and designed to trap heat efficiently. The cylindrical shape and inward curve at the top concentrate heat, while the open top allows airflow and access. A fire burns at the bottom, reaching temperatures of up to 480 °C before settling into a steady heat. This makes them perfect for cooking naan on the sides and skewers of meat or vegetables in the centre, combining baking, roasting and grilling in one method.
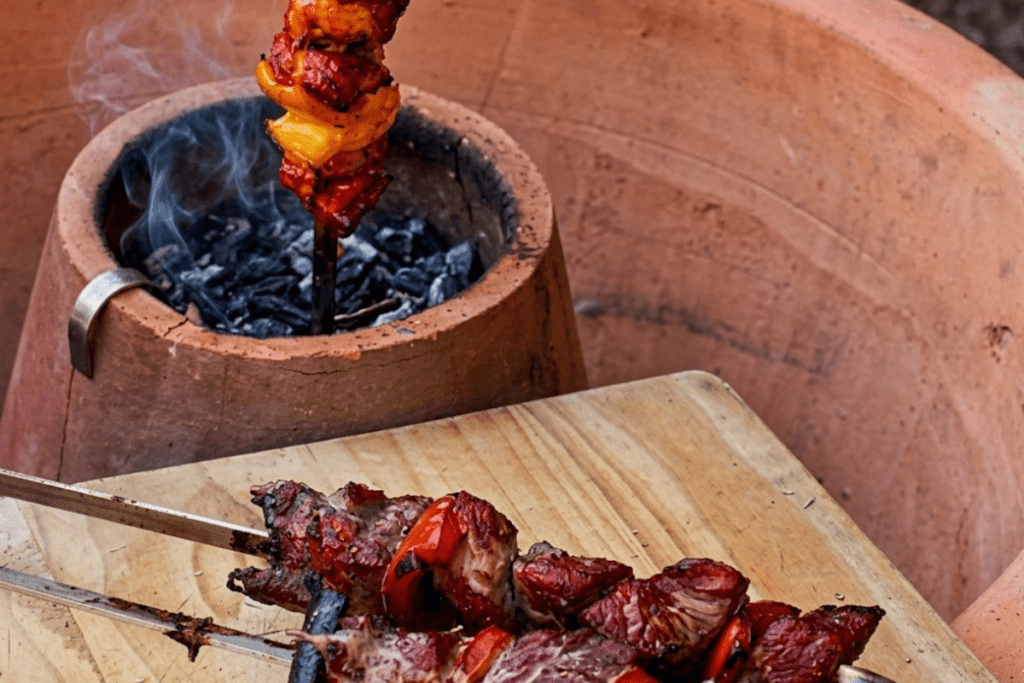
What You Need:
- 1 very large terracotta pot (we used a 65 cm pot)
- 2 medium terracotta pots of the same size (we used 30 cm pots)
- 1 large bag of vermiculite
- 1 small bag of stones
- 3 pot feet
- 3 bricks
- The rim of an old terracotta pot, broken into three pieces
What you will need to do:
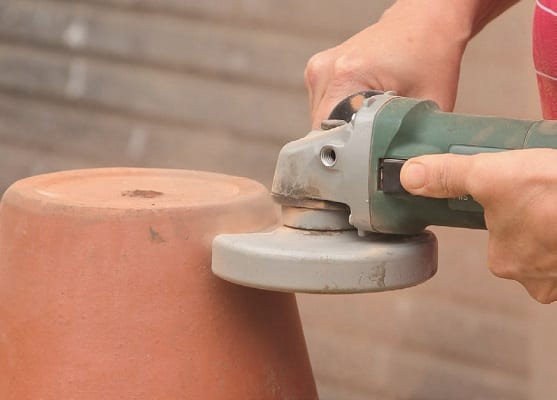
1 Use an angle grinder to cut the bottom off one of the medium pots.
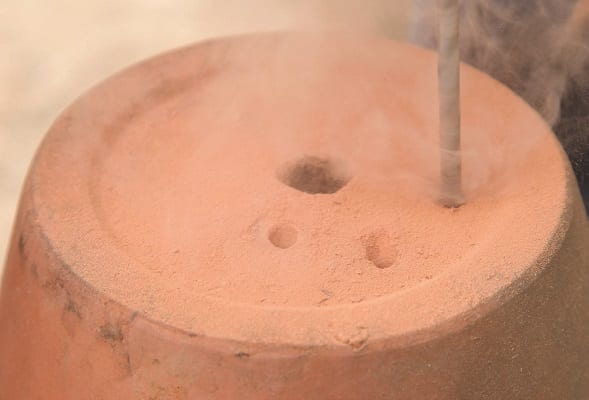
2 Drill extra holes in the bottom of the other medium pot, to form the central base.
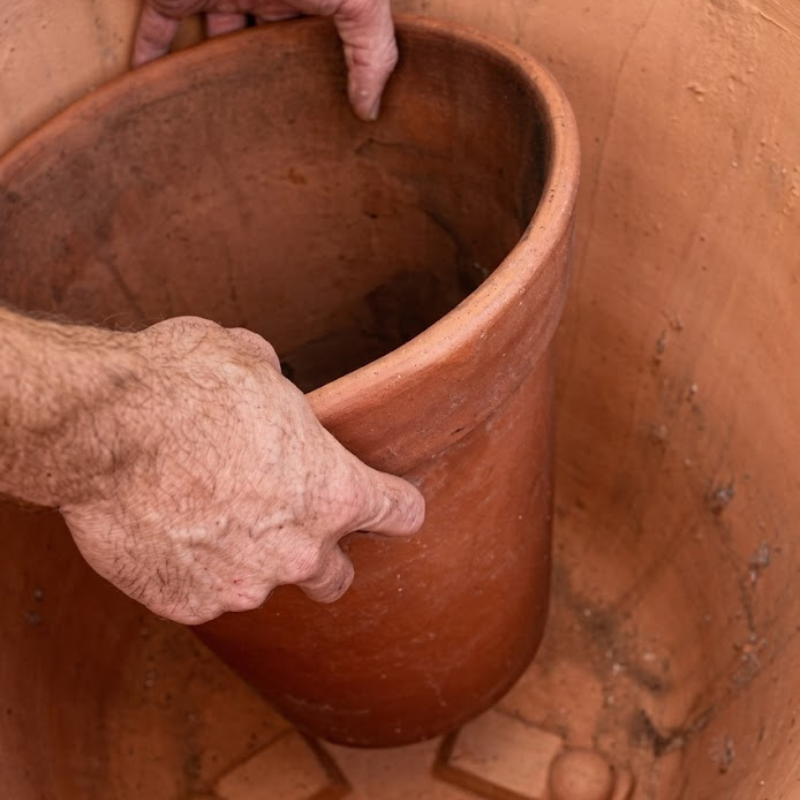
3 Place the large pot on top of the bricks, where you want the braai to be. The bricks help with the air circulation.
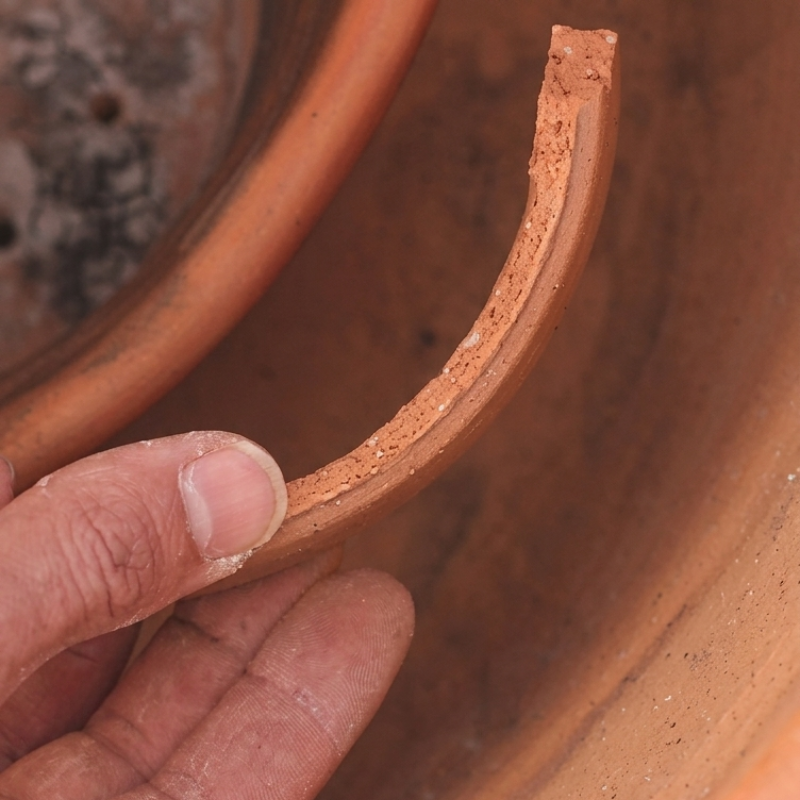
4 Place the pot feet in the bottom of the large pot. Place the three broken pieces of pot rim in a circle at the bottom of the large pot, under the medium pot – this prevents the layer of stones (see Step 5) from pushing under the medium pot and reducing airflow.

5 Place the medium pot with the extra holes in the bottom onto the pot feet, and surround it with a layer of stones.
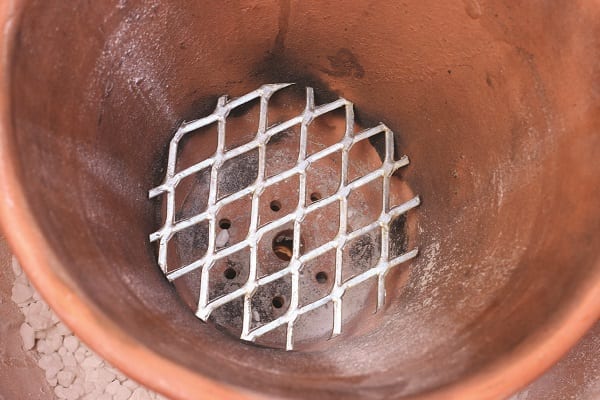
6 Place a piece of grid in the base of this medium pot, to lift the ‑ re and improve air circulation from below.
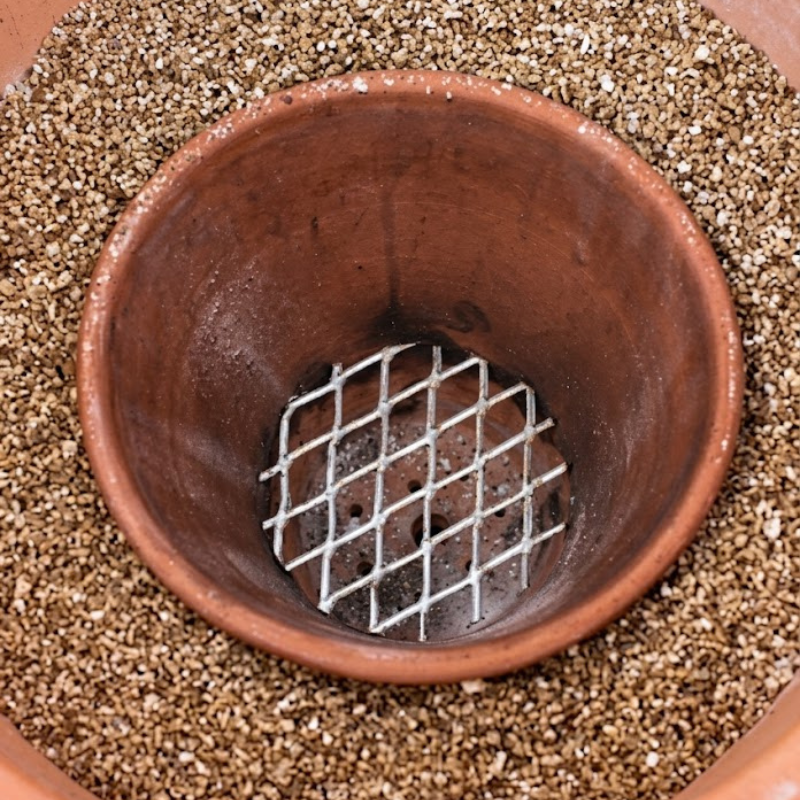
7 Pour vermiculite into the large pot, to form a heat-insulating layer around the medium pot.
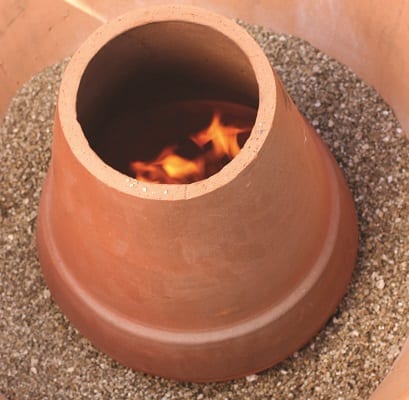
8 Make a small fire in the base of the pot on top of the grid. Place the pot that you have cut the bottom off upside down on top of the ‑ first medium pot, and you are ready to cook.
Looking for something?
Follow Us