DIY Wooden Flower Tower Trellis
A free-standing box trellis is ideal for planting vines or creepers for a spectacular display. It’s also useful for vegetables like cucumbers, peas and climbing beans.
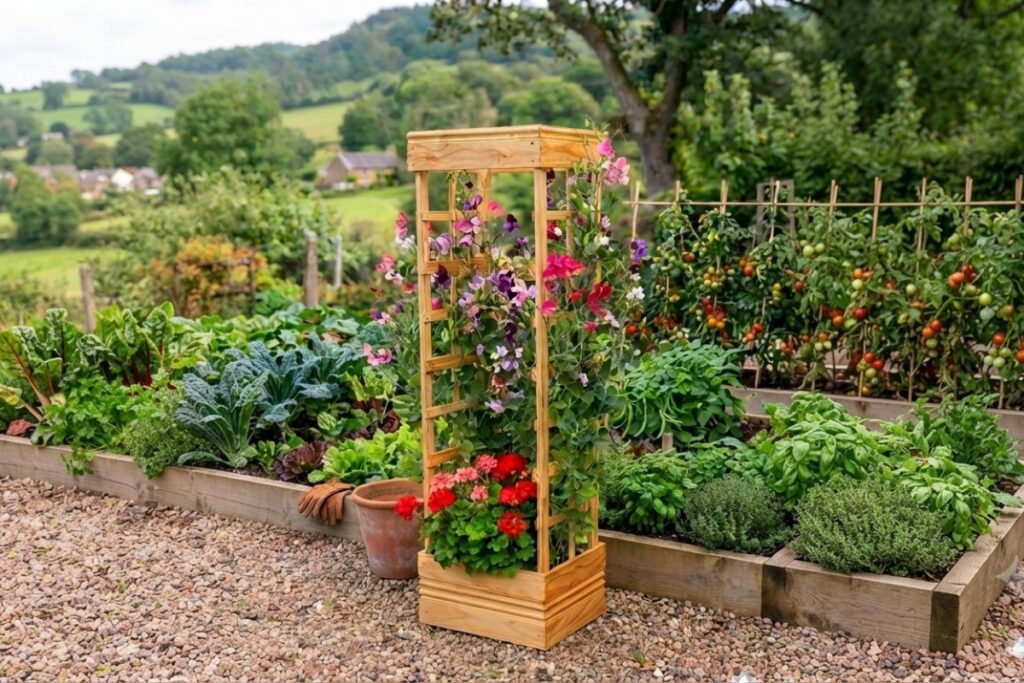
What you need:
- Woodoc 30 Exterior Polywax Sealer (Low Gloss, Clear)
- 10 x 1800 m lengths (21 x 44 mm) cleat pine timber
- 7 x 32 mm pine cover strip
- 20 x 140 mm skirting with a profile
- Screws (4 x 35 mm and 4 x 16 mm)
- 180-grit sandpaper
- Mineral turpentine
- WeedGard
- Woodoc SteelWool.
Cutting list
Cleat:
- 3 x 450 mm
- 6 x 375 mm
- 8 x 180 mm
- 6 x 495 mm
- (4 x 1800 mm as is)
Cover strip:
- 2 x 1800 mm
- 6 x 395 mm
Skirting:
- 6 x 535 mm cut at 45 degrees
- 6 x 435 mm cut at 45 degrees
Tools
Paint brush, flat paddle for stirring, pencil, tape measure, ruler, drill with Philips bit, circular saw, staple gun and staples.
Steps:
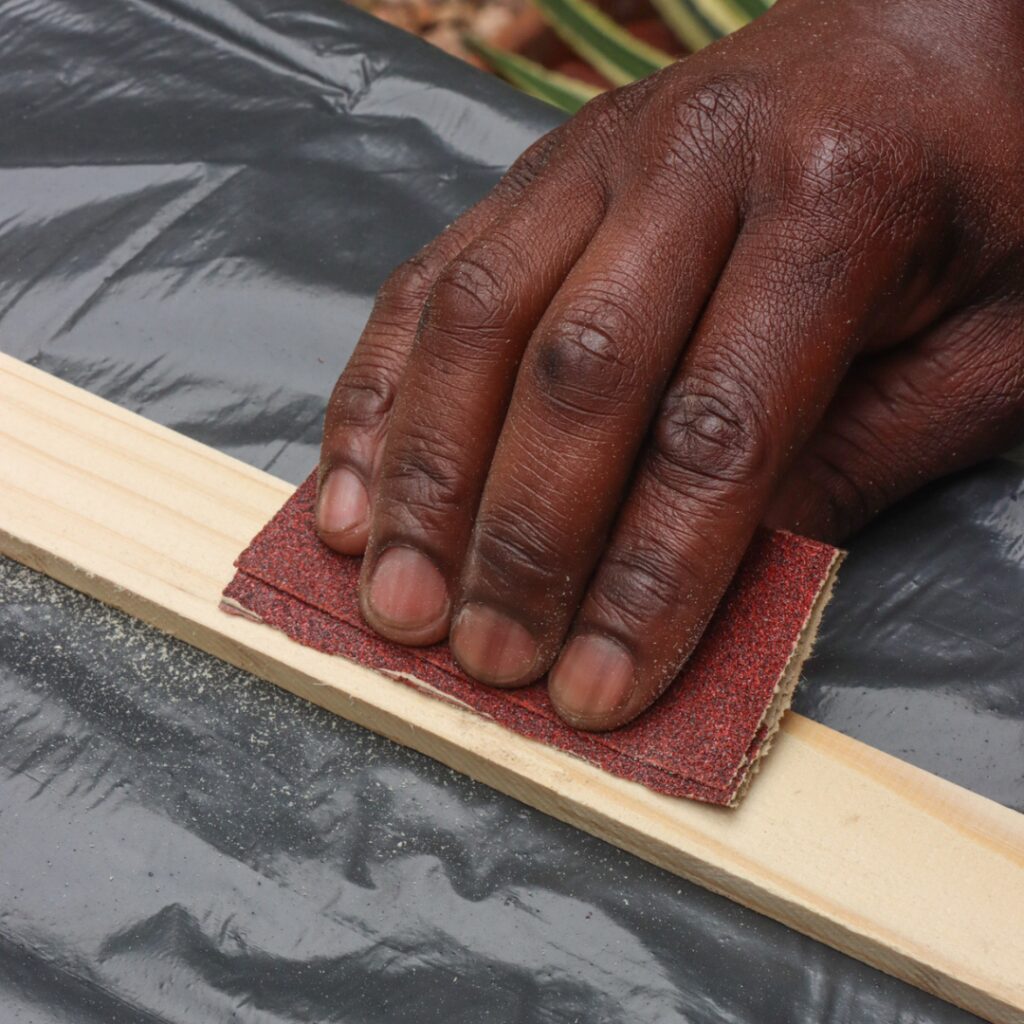
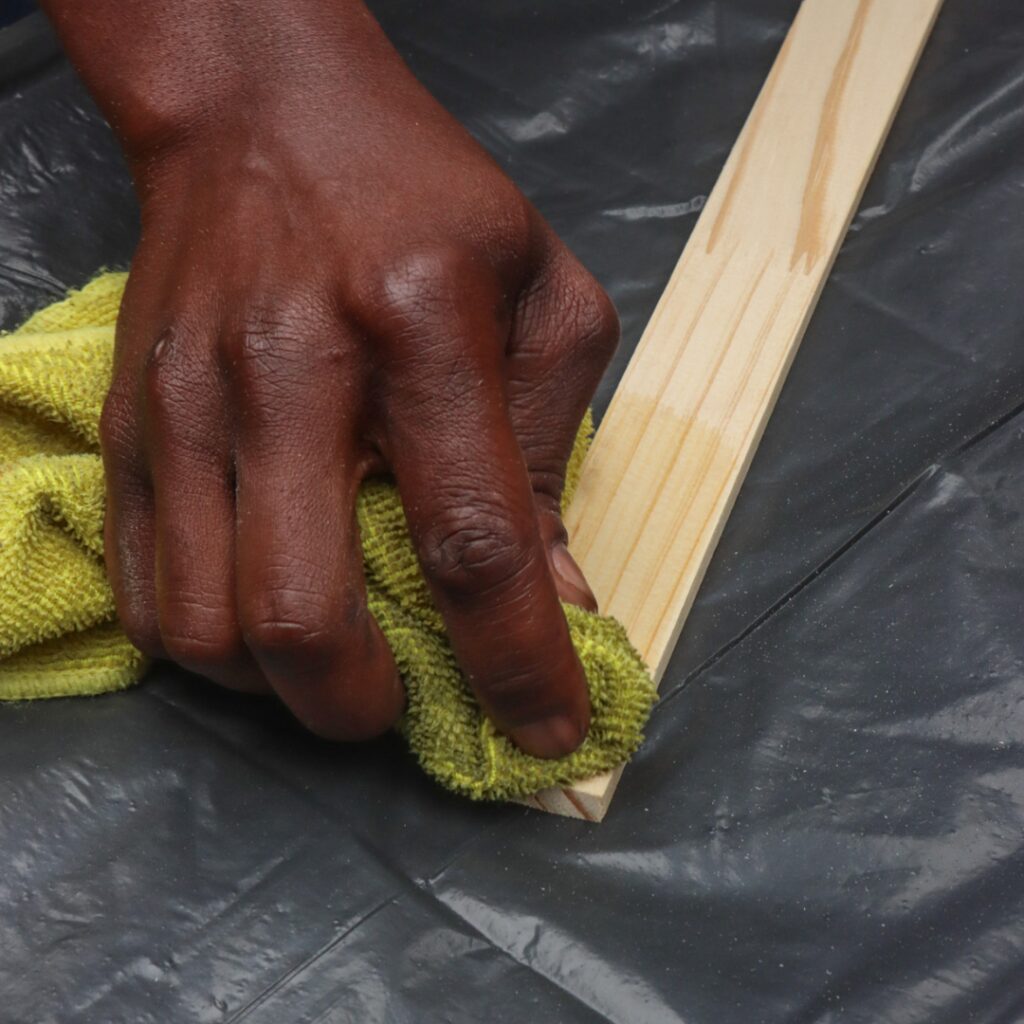
1. Give the timber a light sanding and clean off the dust and dirt using mineral turpentine in preparation for the application of the sealer.
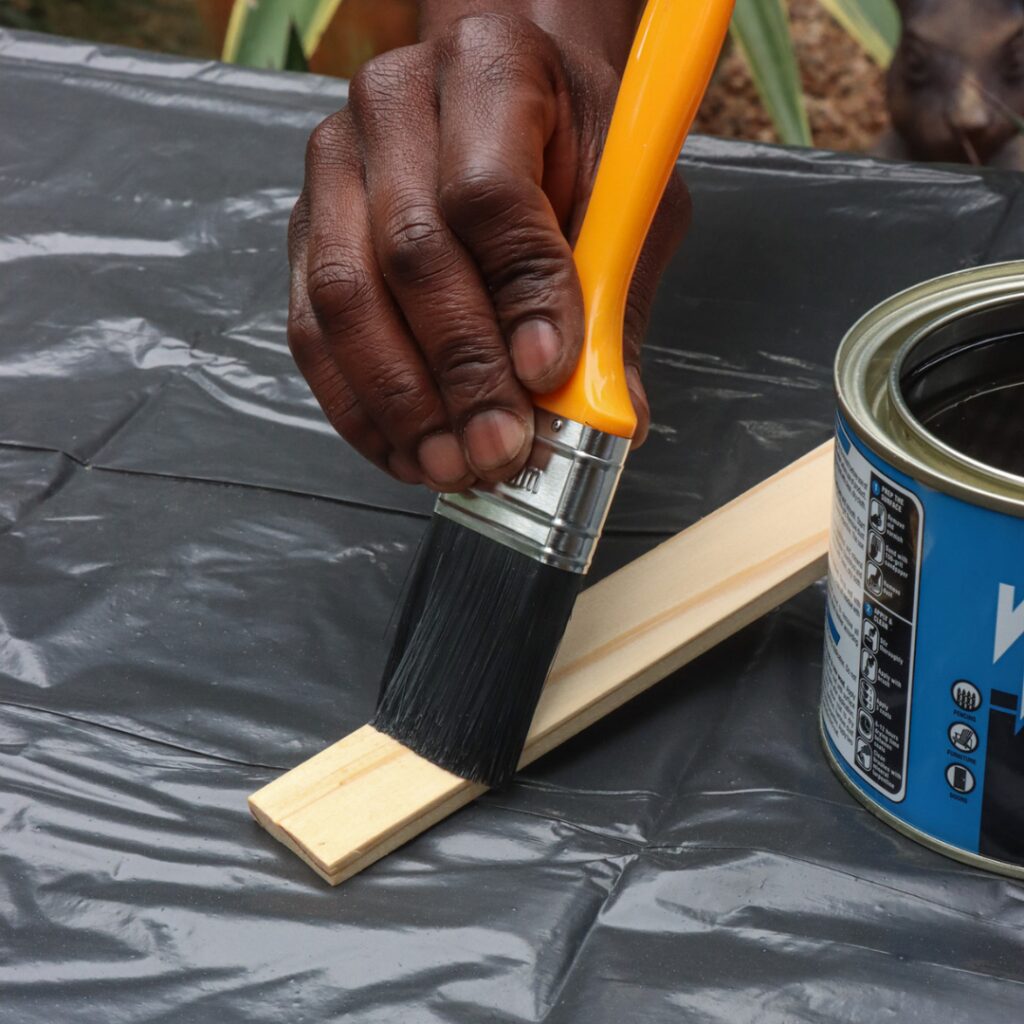
2. Stir Woodoc 30 well before and during application. Do not shake or dilute the product. Apply the first coat until the surface remains evenly glossy for at least 10 minutes after application.
3. Allow to dry completely before sanding lightly with Woodoc SteelWool. Remove dust with a clean, dry cloth and wipe with mineral turpentine. Apply two more coats. Do not sand after the third coat.
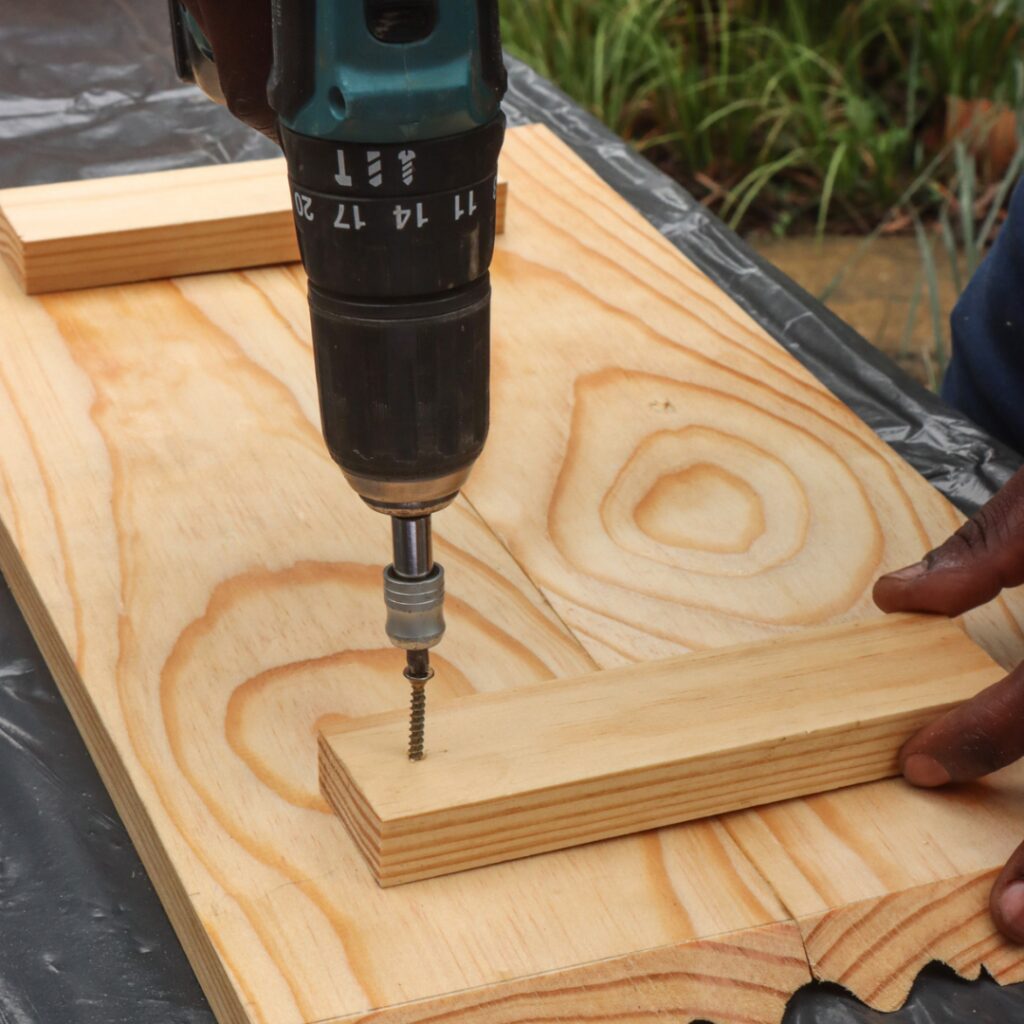
4. Join the tops of two of the 535 mm skirtings to form a single piece, and secure by using the 180 mm cleat pine fastened with 4 x 35 mm screws onto both pieces.
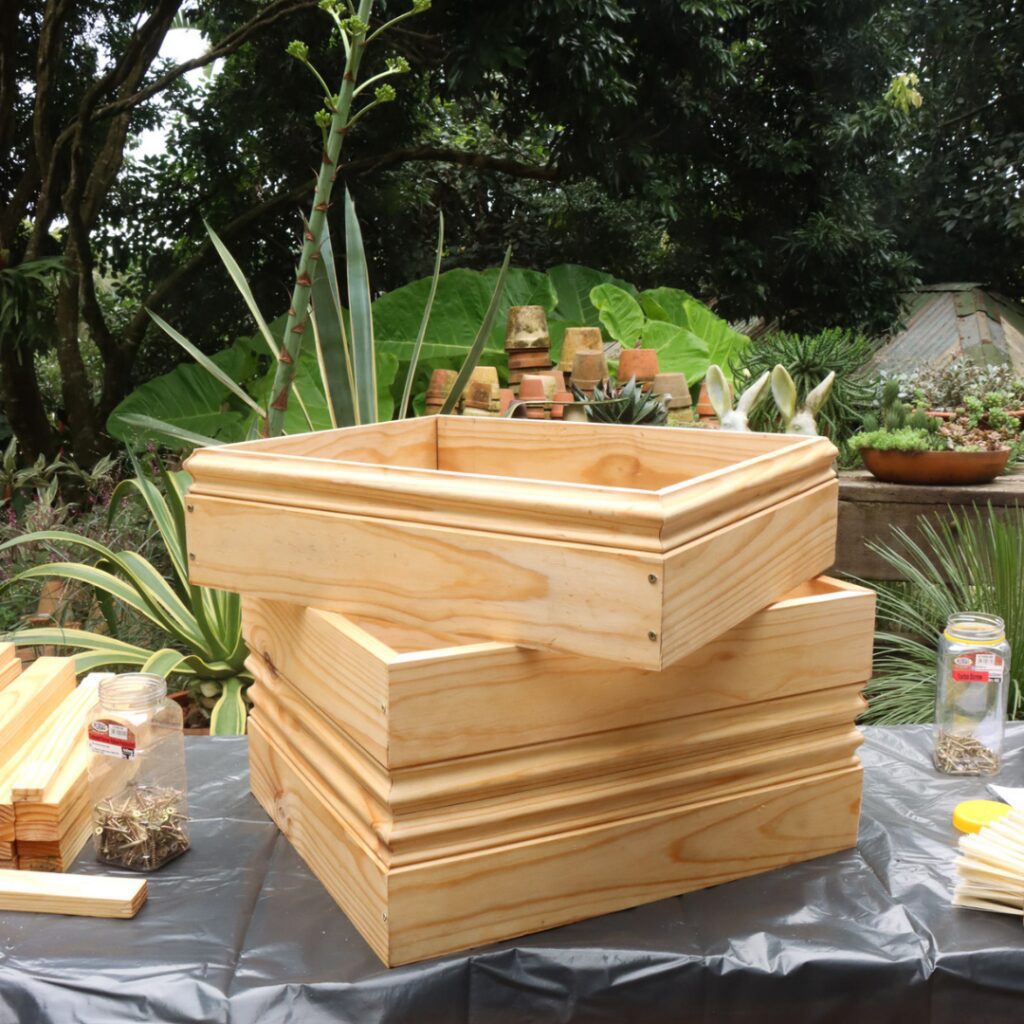
5. Repeat with the 435 mm skirting and create these pairs until you have enough to form two boxes, one with double skirting and one with a single skirting.
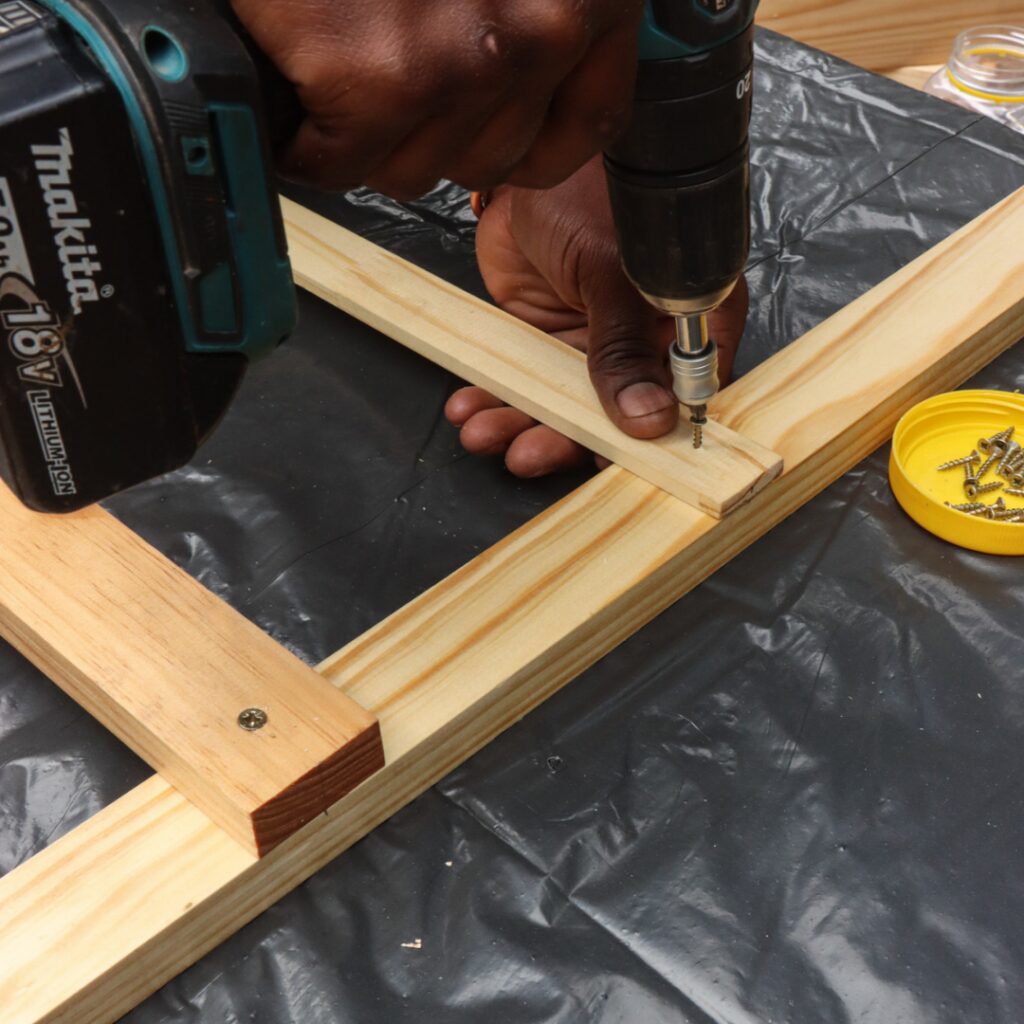
6. Build the trellis by measuring and marking the four 1800 mm pieces at the following points: 280 mm, 460 mm, 650 mm, 800 mm, 985 mm, 1155 mm, and 1340 mm. Secure the 395 mm cover strips and 375 mm pieces alternately, starting with the cover strip. Attach the cover strips flush to both sides, while leaving a plank width on what will be the back side of the trellis when attaching the 375 mm pieces with 4 x 35 mm screws.
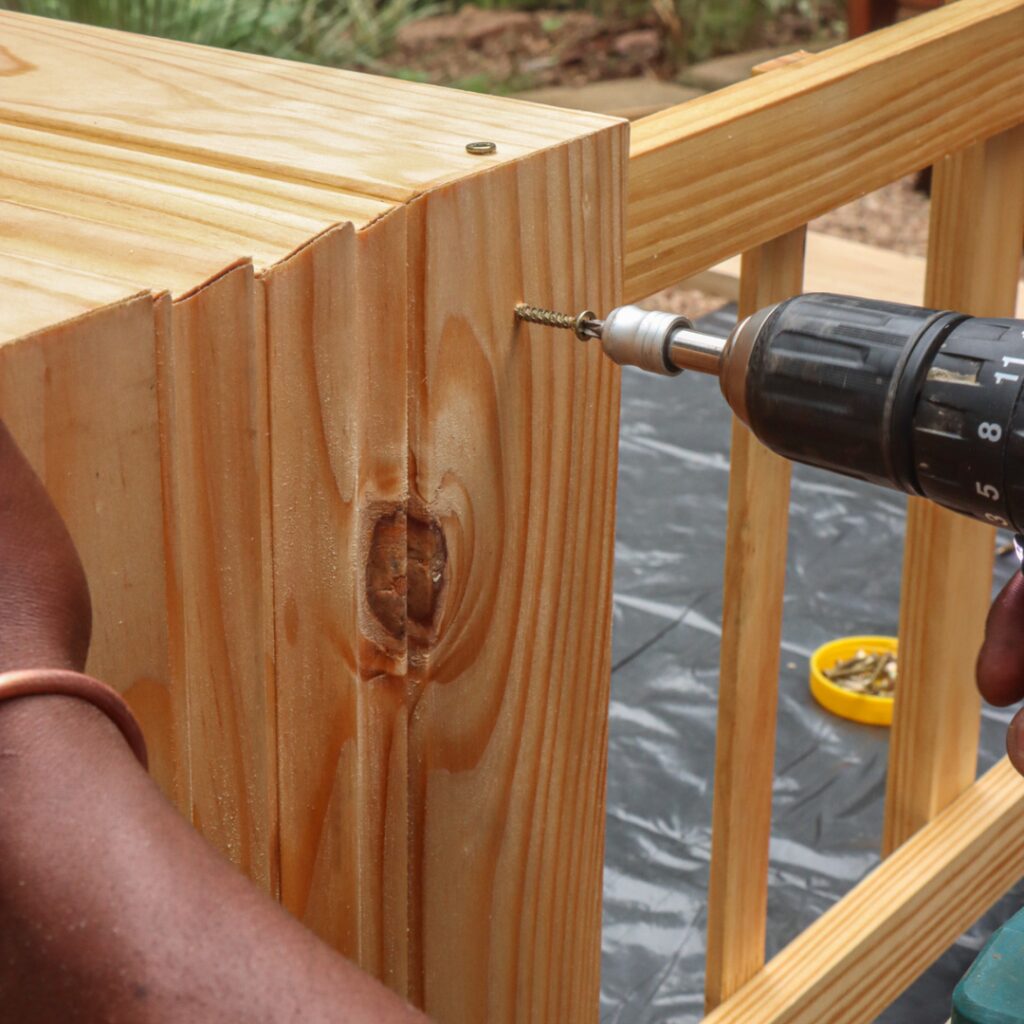
7. Fasten the two replica trellises onto the inside corners of the top and bottom boxes and the 450 mm pieces onto the back at the points marked at 460, 800, and 1155 mm to form a butted join. Fasten the 495 mm pieces onto the base using 4 x 35 mm screws.
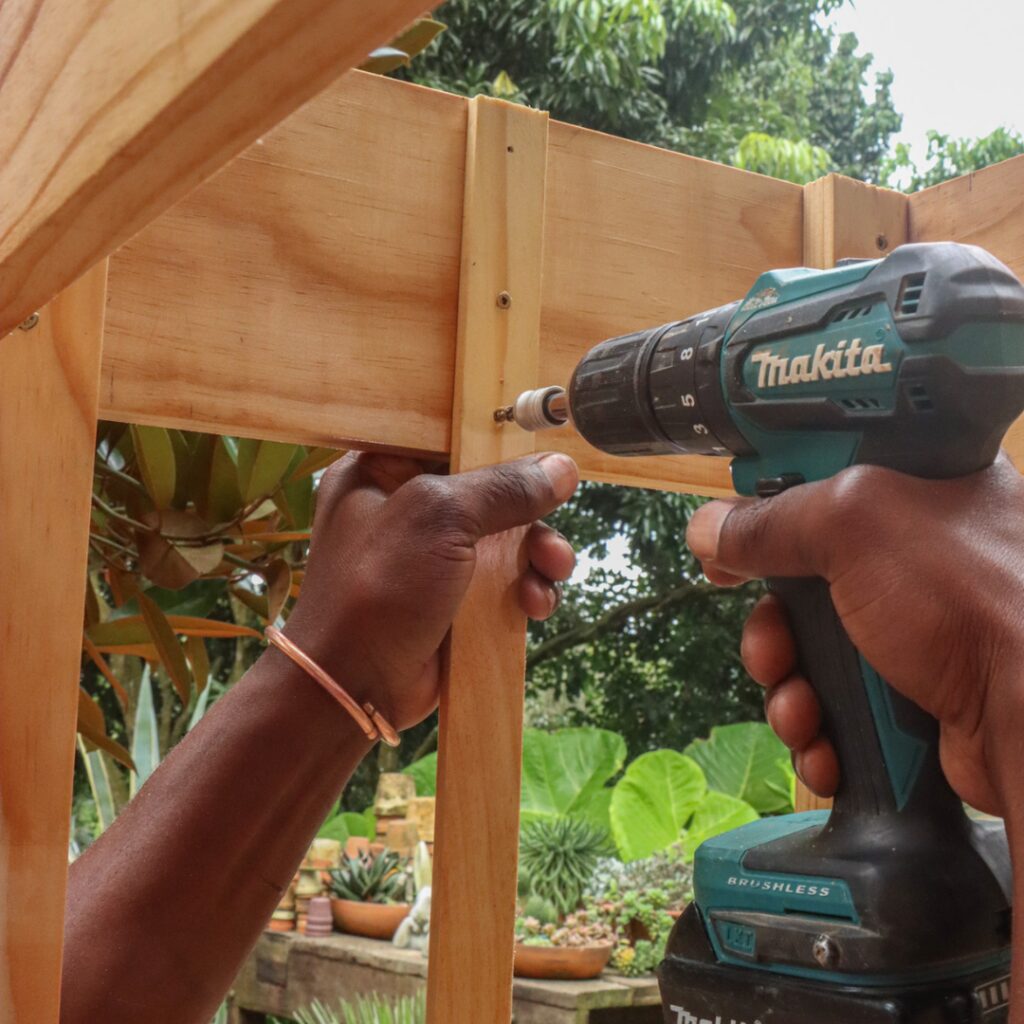
8. Find the vertical centre point at the top and bottom of the boxes and fasten the 1800 mm cover strip with 4 x 16 mm screws on the inside of the trellis to give the cross slats support.

9. Cut a piece of WeedGard twice the size of the box and secure with a staple gun in the corners and along the top and bottom of the box. Cut away any excess fabric after planting.

Looking for something?
Follow Us