
DIY Bromeliad Log
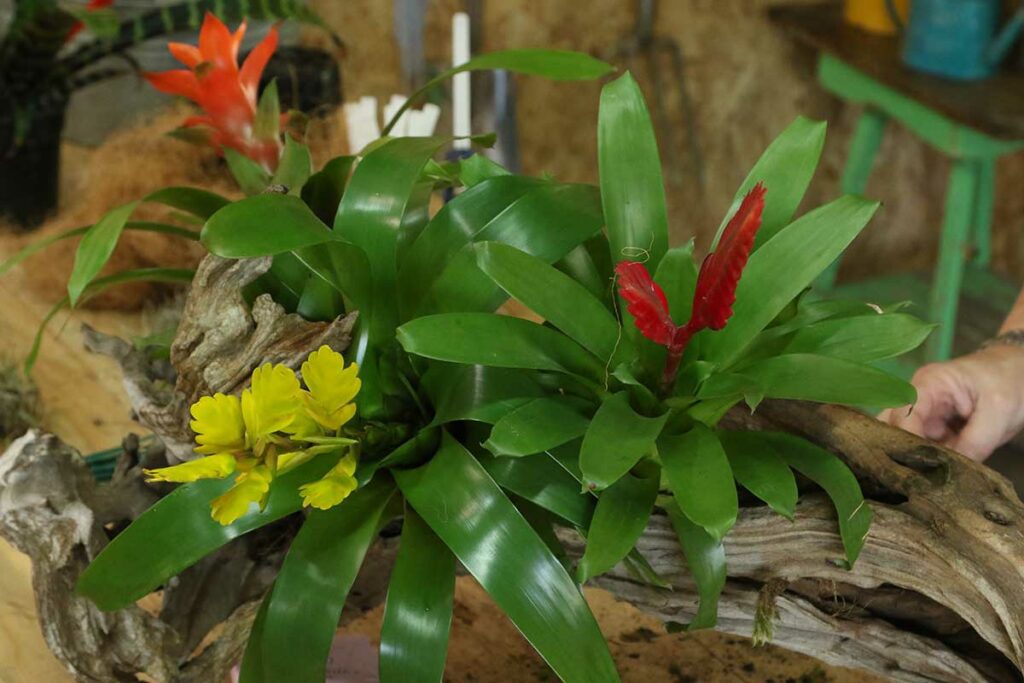
Create a gorgeous centrepiece with a piece of driftwood and some guzmanias, a Vriesea ‘Splenriet’, a string of lights and a bit of old man’s beard. To make your own bromeliad log DIY follow the below steps.


The Steps for your bromeliad log DIY
- The options at your local garden centre are endless. Every week I am amazed at the new varieties of neoregelias, vrieseas and guzmanias that I discover. The difficult part is deciding which ones you’re NOT going to take home! So select your favourites and get started.
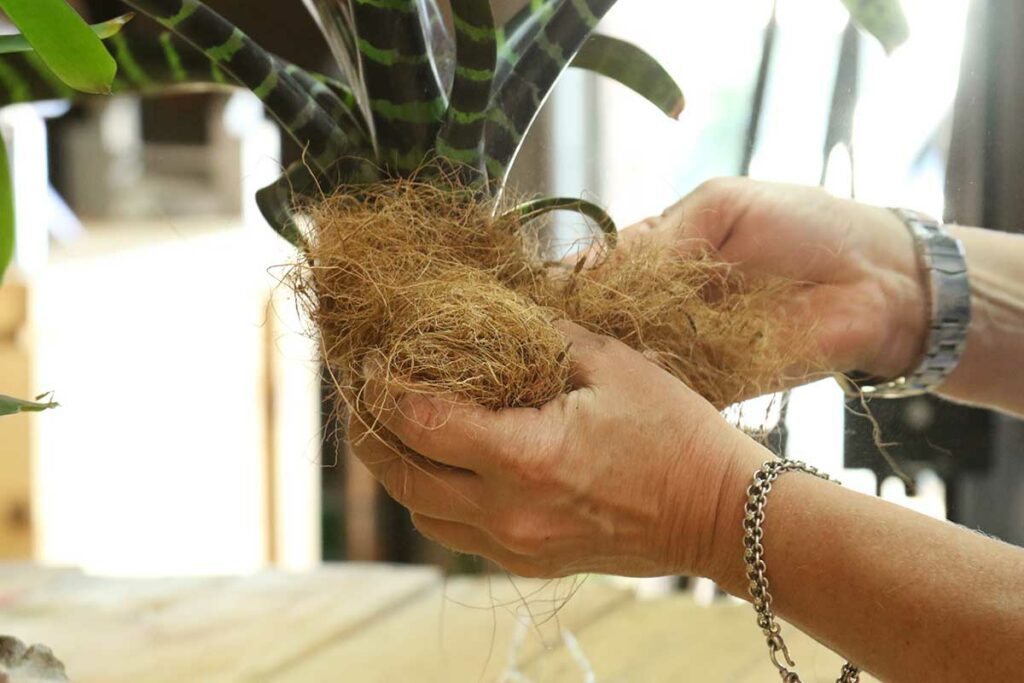
- Be gentle when removing the plants from their pots. Squeeze the pots to loosen the soil and then tap them softly. I prefer to do this over a trug, so there is far less mess. Tap the root ball multiple times against the wall of the trug; the soil slowly loosens and falls away, leaving you with the bare roots of the plant. This is important.
- You can prune away some of the longer roots but be cautious not to remove more than 1 – 2cm.
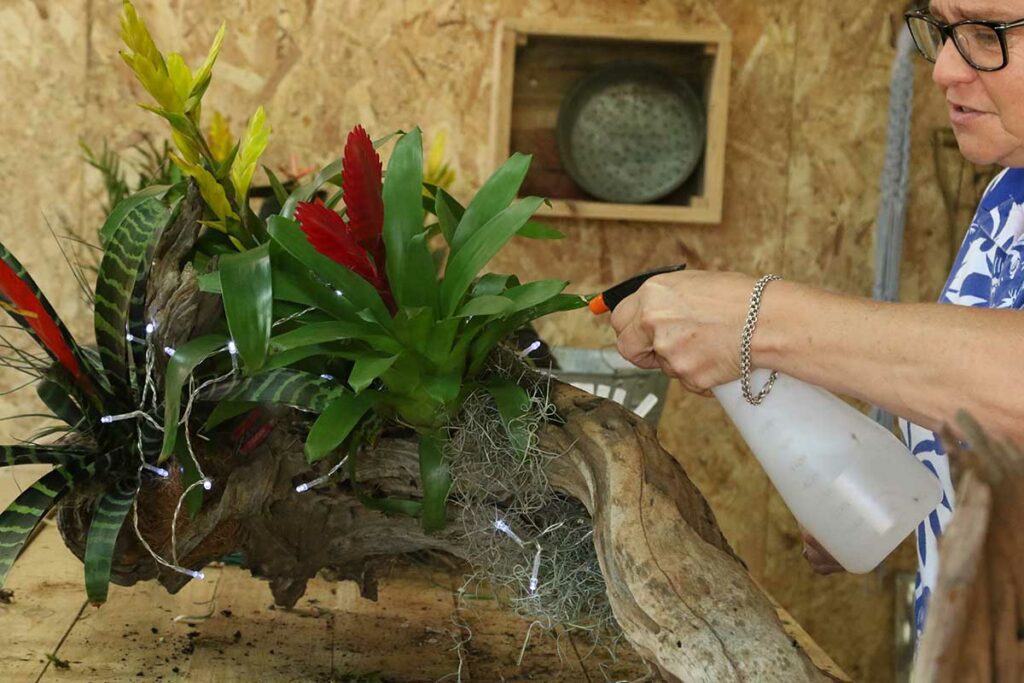
- Find a cavity/gap in the driftwood and prepare it by giving it a good spray with a spray bottle.
- Add a generous amount of sphagnum moss to the cavity and then gently insert the roots of a plant. You can use the end of a paintbrush to ease the roots into the cavity.
- Once the plant is securely in place, use bits of coir (the same coir that you use to line a hanging basket) to fill in any remaining cavities. This also helps to stabilise the plant in its new position. Give it another generous spritzing. Repeat this process with each plant.
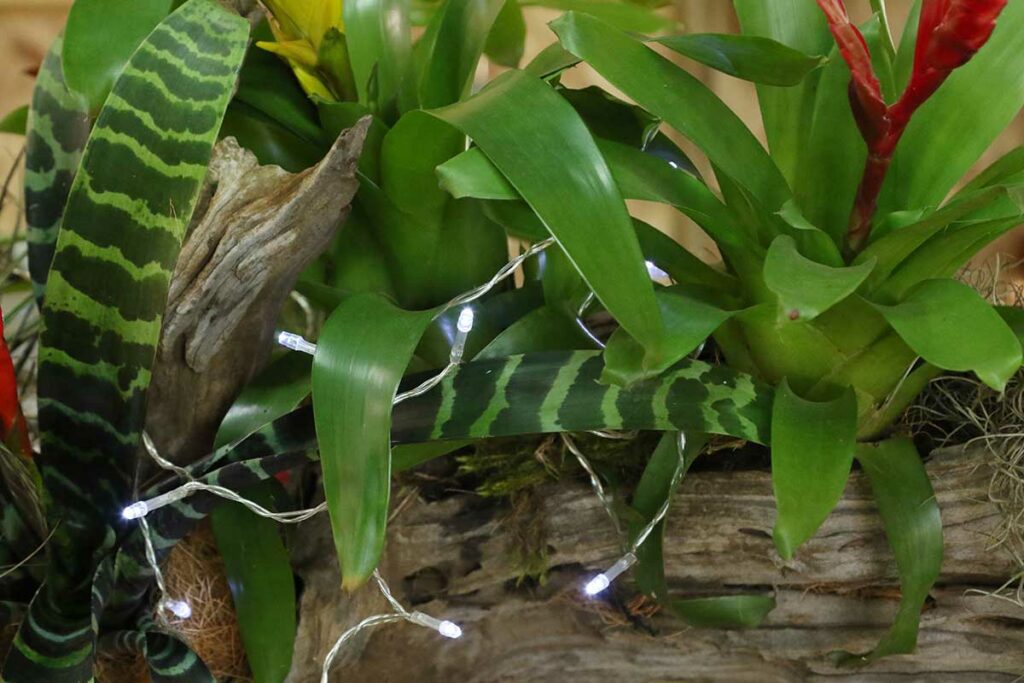
- If necessary, you can cut some old stockings into strips and use these to further secure the plants. Camouflage the stocking strips with old man’s beard (Spanish moss or Tillandsia usneoides).
Care
Place in a well-lit spot and ensure that the plants get watered by means of spritzing every third day. Add a liquid plant food to your water to keep the plants in good condition.
Looking for something?
Follow Us


