Build a Bunny Basket

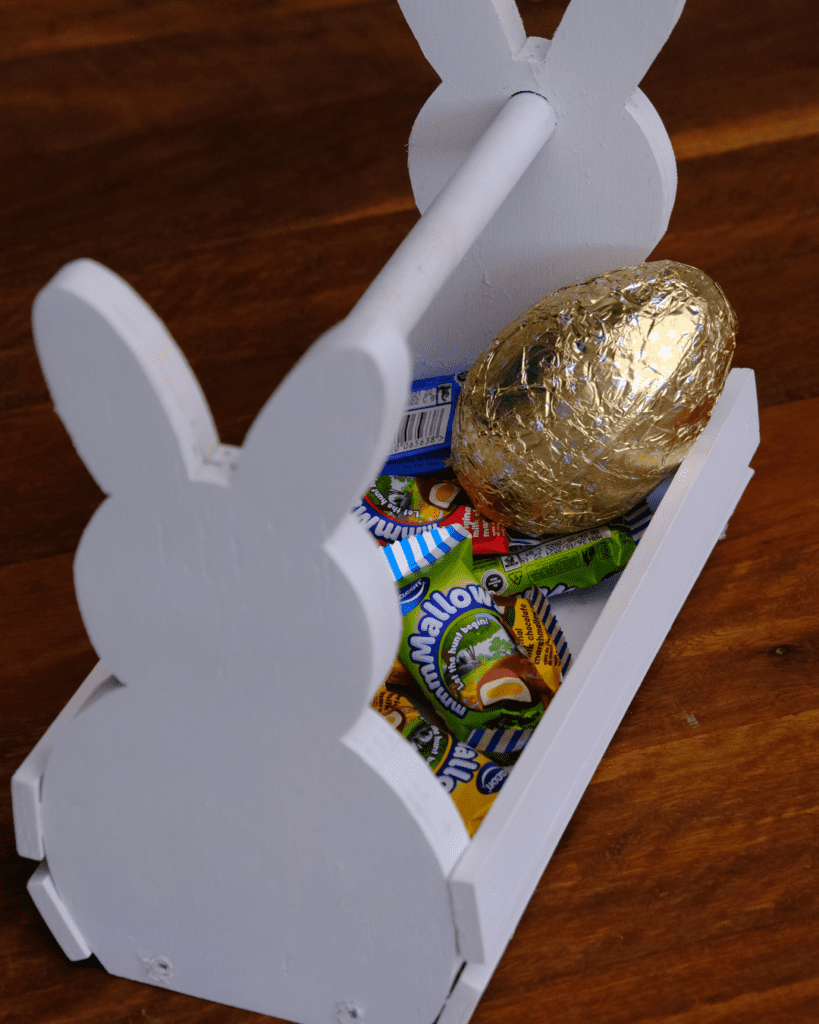

Use your Fragram tools to make an Easter bunny egg basket!
You need:
Cutting list:
- 1 x 160mm x 600mm piece of 18mm plywood
- 1 x 20mm dowel cut to 285mm
- 4 x 7mm x 32mm x 296mm slats (available in the skirting board section of hardware stores)
- 1 x 19mm x 100mm x 260mm plank
- 25mm panel pins
- White paint/spray-paint
- Wood glue
- 4 x 4mm x 35mm wood screws
Tools: Jigsaw, cordless drill, driver bit, speed pilot bit, 20mm Forstner bit, sander, carpenter’s pencil, tape measure, piece of paper/template, scissors, hammer,
We used these Fragram tools for this DIY:
- 400W Jigsaw
- 18V Cordless Drill
- 200W 3-in-1 Multisander
- 225g Rubber Grip Claw Hammer
What to do:


- Download the bunny template, print it and cut it out.
- Using the bunny template, trace out two bunnies on the piece of plywood. Make sure to make a mark in the bunnies’ foreheads where the dot is.
- Using the Fragram 400W Jigsaw, cut out the two bunnies.
- Sand the bunnies and the other pieces of wood with the Fragram 200W 3-in-1 Multisander.
- Drill a 20mm hole on the mark in each bunny’s forehead. Don’t go all the way through though.
- Dry fit the dowel in the two holes, with the base plank in place as well. Check that the dowel isn’t a tad too long. If it is, trim it. Put glue into each hole and insert the dowel handle into both.
- Slip the base into position between the two bunnies. Secure it with glue and screws, after drilling pilot holes.
- Hammer a panel pin between the bunnies’ ears, to further secure the dowel handle.
- Measure 1cm from the bottom of the bunnies and nail the first slat at this mark. Leave a gap and then fit the next slat. (An offcut from the slats is helpful here, as a spacer.) Repeat until you have two slats on either side.
- Paint the completed basket. We used Rust-Oleum Chalked Spray-Paint in Linen White. It’s great because you don’t need a primer first.
- Paint whiskers and a nose, if you feel like it.
- Hide Easter eggs and release the children!
Looking for something?
Follow Us